

Episode 420
Click here for comments and discussion (and possibly the rest of this article!)
posted by Christopher Doyle at
4/30/2008
10 Comments
Links to this post
![]()
![]()
posted by Christopher Doyle at
4/30/2008
10 Comments
Links to this post
![]()
![]()
 The Entry Grid has been updated again - we're now at 35 models! (We'd be closer to 40, but you HAVE TO SEND ME AN EMAIL following the entry instructions to get on the grid. Don't just post a comment, it won't count.)
Labels: Contests, LEGO, Pumping Iron
posted by Christopher Doyle at
4/29/2008
1 Comments
Links to this post
![]()
![]()
posted by Christopher Doyle at
4/29/2008
11 Comments
Links to this post
![]()
![]()
The Entry Grid has been updated with all models submitted so far. We're up to 30 models at the moment - and there's some really creative work in there!Labels: Contests, Pumping Iron, Rules Clarification
posted by Christopher Doyle at
4/28/2008
7 Comments
Links to this post
![]()
![]()
 Read the comic here.
Labels: Comics, How Cool Is THAT, S-Team
posted by Christopher Doyle at
4/28/2008
0 Comments
Links to this post
![]()
![]()
Read the comic here.Labels: Comics, Episode, First Drafts
posted by Christopher Doyle at
4/28/2008
7 Comments
Links to this post
![]()
![]()
 There's been a parts upgrade at the Buy-Me Mizer, a great reason to take advantage of the Spring Sales event that ends on April 30th.
Labels: Buy Me Mizer, Mizers, Sales and Deals
posted by Christopher Doyle at
4/25/2008
4 Comments
Links to this post
![]()
![]()
Read the comic here.
posted by Christopher Doyle at
4/25/2008
6 Comments
Links to this post
![]()
![]()
Read the comic here.
posted by Christopher Doyle at
4/24/2008
12 Comments
Links to this post
![]()
![]()
Read the comic here.
posted by Christopher Doyle at
4/23/2008
9 Comments
Links to this post
![]()
![]()
Read the comic here.
posted by Christopher Doyle at
4/22/2008
8 Comments
Links to this post
![]()
![]()
The Entry Grid has been updated with all models submitted so far. We're up to 17 models at the moment.Labels: Contests, LEGO, Pumping Iron
posted by Christopher Doyle at
4/21/2008
9 Comments
Links to this post
![]()
![]()
posted by Christopher Doyle at
4/21/2008
6 Comments
Links to this post
![]()
![]()
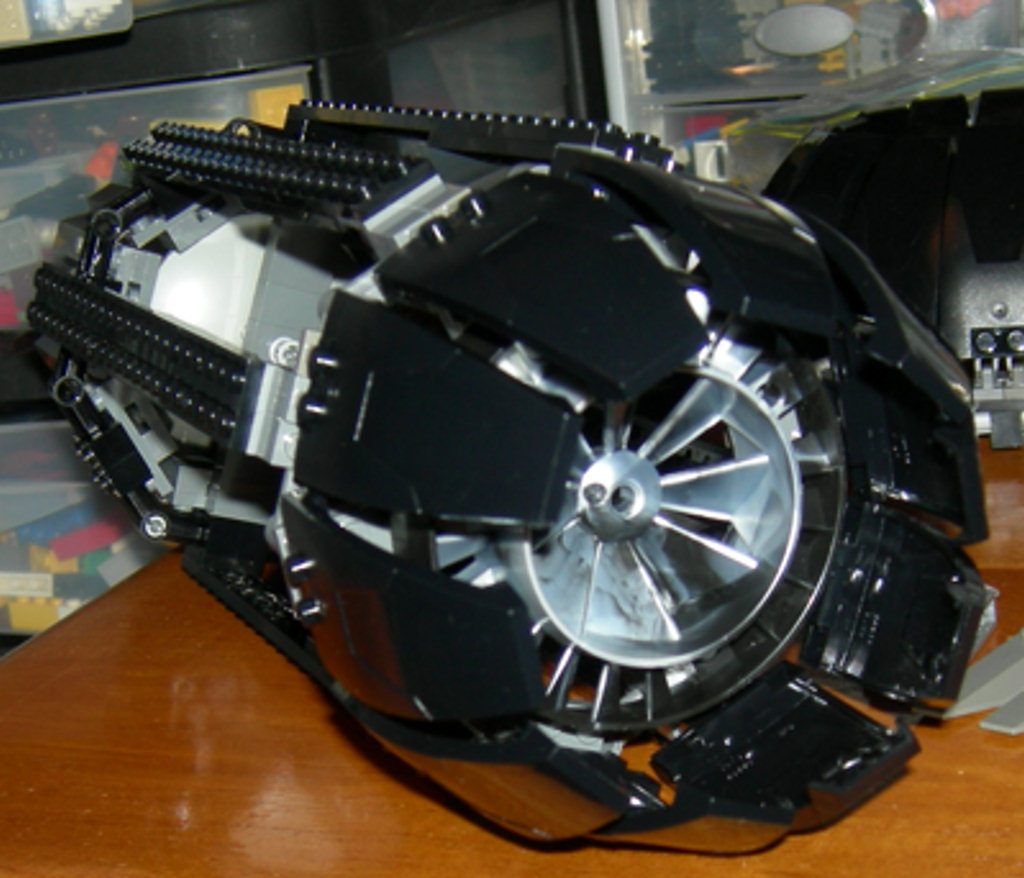
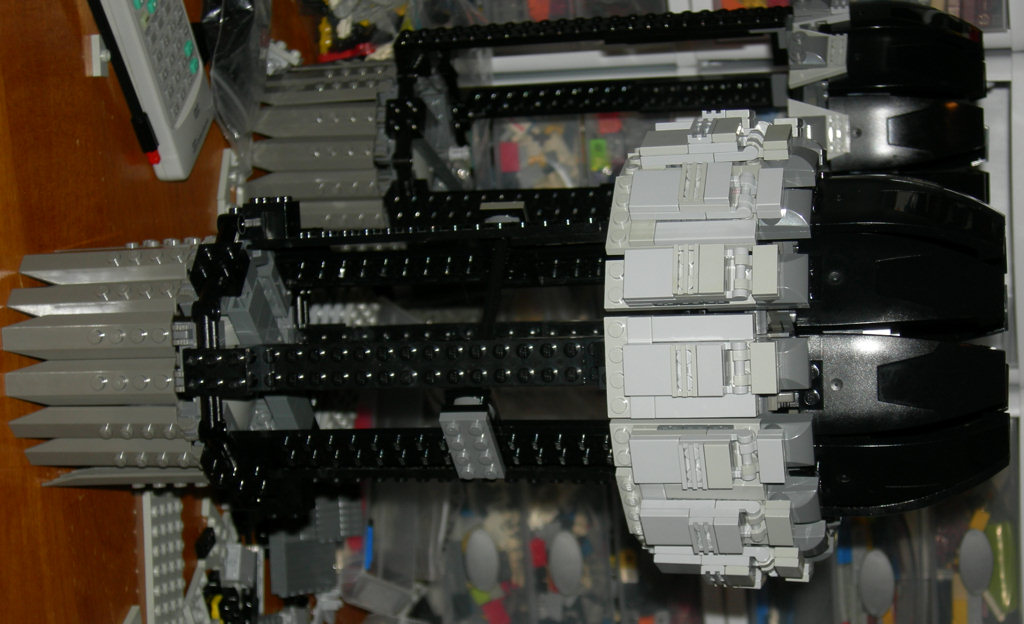
 Another minor progress update. Last night I spent time figuring out how the side engines are going to mount to the larger model.
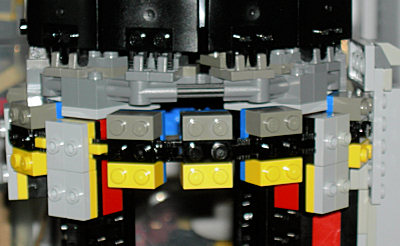
posted by Christopher Doyle at
4/18/2008
2 Comments
Links to this post
![]()
![]()
posted by Christopher Doyle at
4/18/2008
11 Comments
Links to this post
![]()
![]()
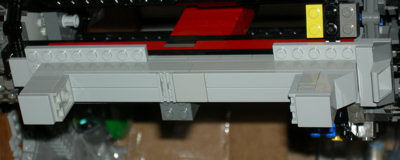
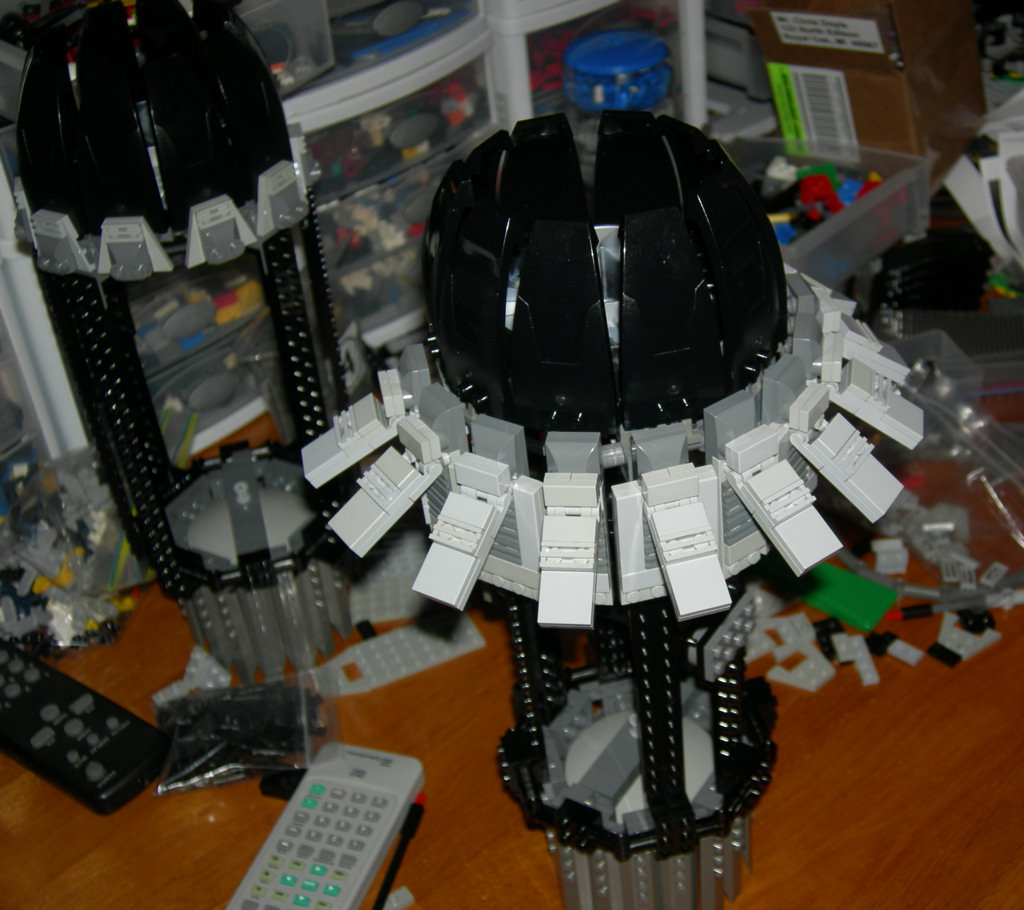
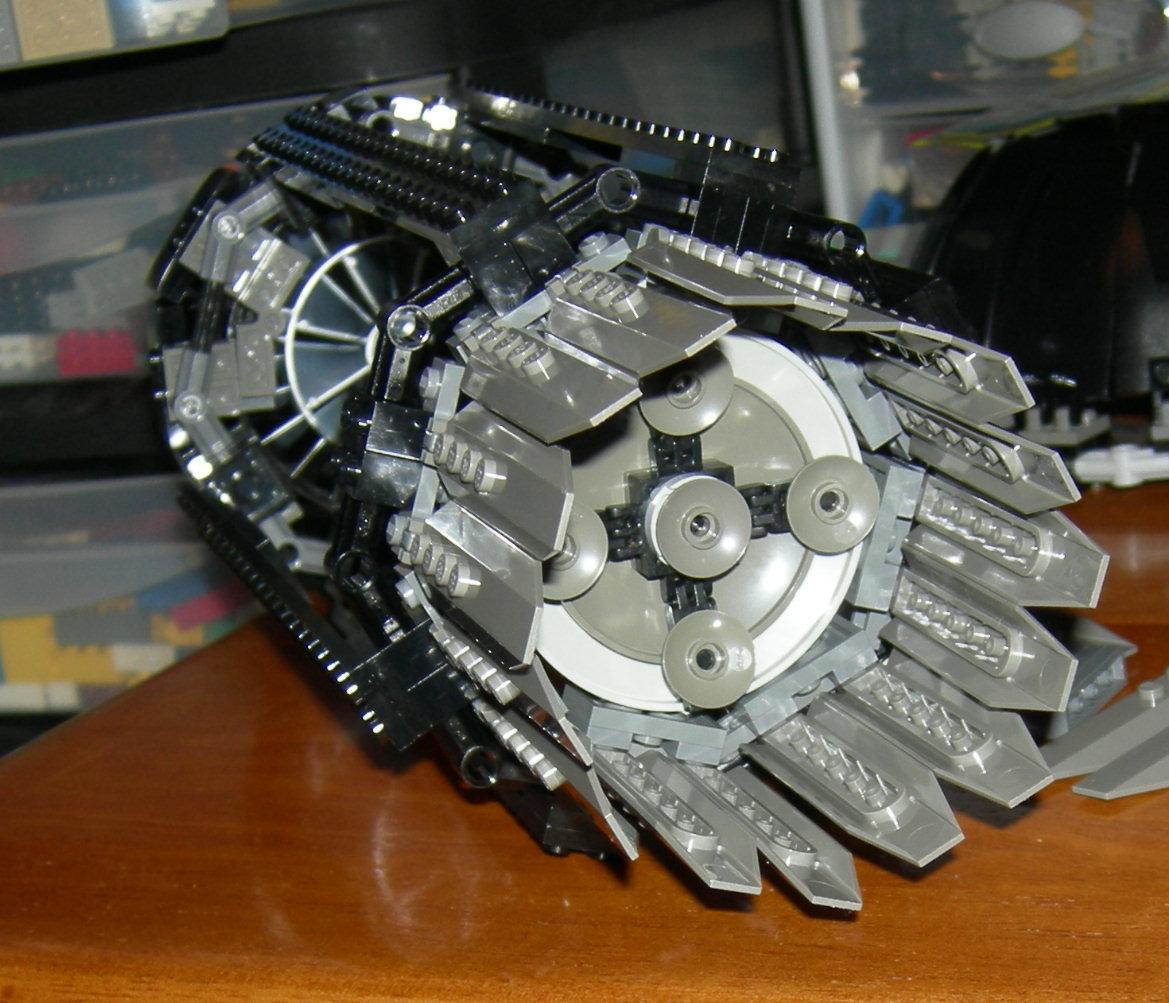
Just one small picture today - the completed revised flap ring. Of course, I've run out of 1x4 gray tiles now - time for another part order or two.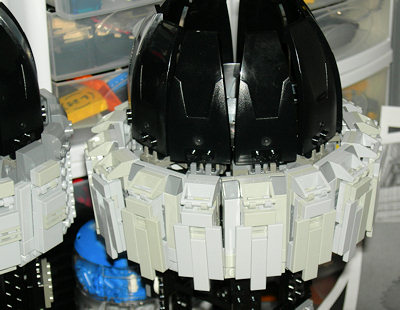
posted by Christopher Doyle at
4/17/2008
3 Comments
Links to this post
![]()
![]()
posted by Christopher Doyle at
4/17/2008
12 Comments
Links to this post
![]()
![]()
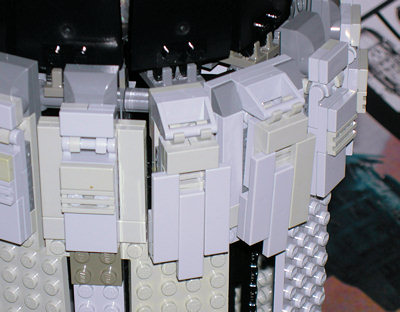
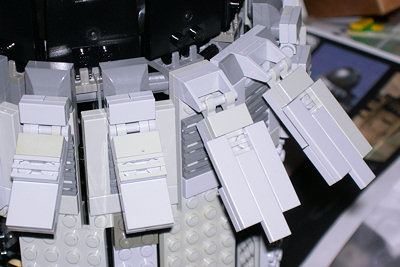
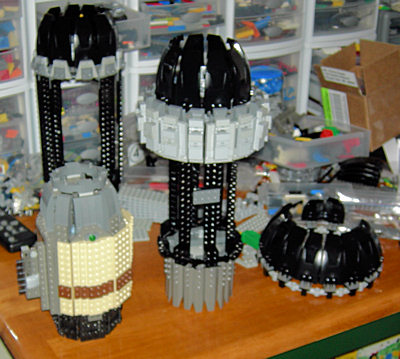
Another small update, but one that demonstrates why I have to be in the right frame of mind to work on this project.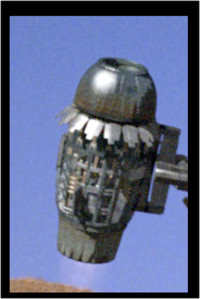
posted by Christopher Doyle at
4/16/2008
4 Comments
Links to this post
![]()
![]()
posted by Christopher Doyle at
4/16/2008
2 Comments
Links to this post
![]()
![]()
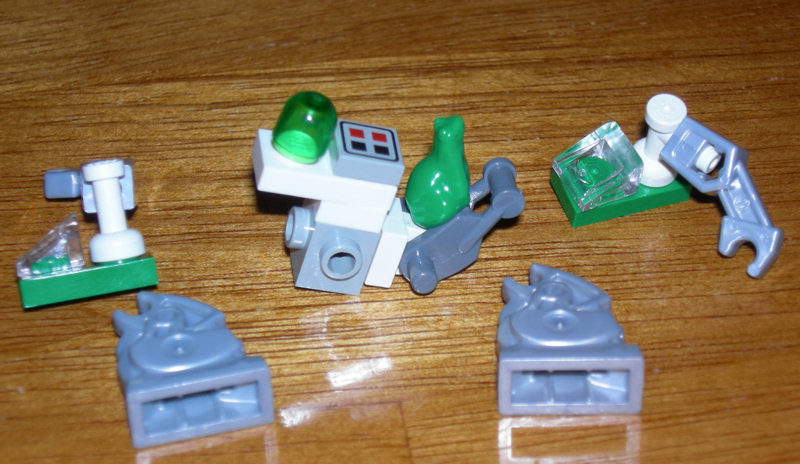
As requested, here's an update on the work on the Mini-fig scaled Serenity.
posted by Christopher Doyle at
4/15/2008
6 Comments
Links to this post
![]()
![]()
posted by Christopher Doyle at
4/15/2008
18 Comments
Links to this post
![]()
![]()
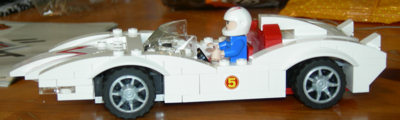
I spent a few hours over the weekend revising and enhancing the Mach-5 from set 8158.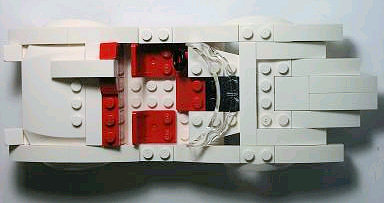
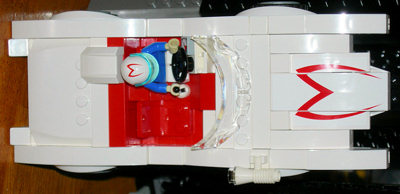
Labels: LEGO, Speed Racer, workbench
posted by Christopher Doyle at
4/14/2008
7 Comments
Links to this post
![]()
![]()
posted by Christopher Doyle at
4/14/2008
4 Comments
Links to this post
![]()
![]()
posted by Christopher Doyle at
4/11/2008
6 Comments
Links to this post
![]()
![]()
I wasn't sure if I should post this under "comics" or "LEGO", but since it's more about building I went with LEGO.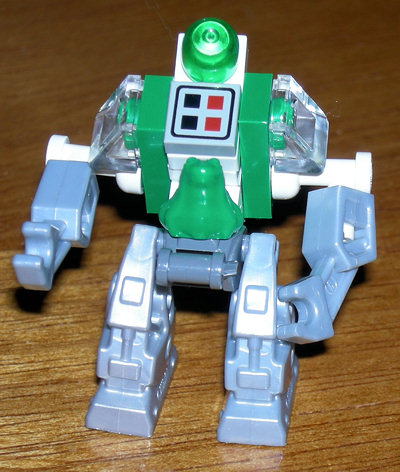
posted by Christopher Doyle at
4/10/2008
7 Comments
Links to this post
![]()
![]()
I've just posted the next four models (#8-11) to the the Entry Grid. Like last time, I've started creating multiple pages for the entries - 10 per sheet - to help with load times.Labels: Contests, Iron Man, LEGO, Pumping Iron
posted by Christopher Doyle at
4/10/2008
0 Comments
Links to this post
![]()
![]()
Read the comic here.
posted by Christopher Doyle at
4/10/2008
8 Comments
Links to this post
![]()
![]()
 I keep meaning to mention this, so let me do it before it slips my mind again.
Labels: puppets
posted by Christopher Doyle at
4/09/2008
6 Comments
Links to this post
![]()
![]()
I've just posted the Entry Grid for the models submitted so far. Remember, entries must be in my mailbox before 2:22 AM (Eastern Standard Time) on May 3, 2008.Labels: Contests, Iron Man, LEGO, Pumping Iron
posted by Christopher Doyle at
4/09/2008
0 Comments
Links to this post
![]()
![]()
Read the comic here.
posted by Christopher Doyle at
4/09/2008
7 Comments
Links to this post
![]()
![]()
posted by Christopher Doyle at
4/08/2008
5 Comments
Links to this post
![]()
![]()
posted by Christopher Doyle at
4/07/2008
4 Comments
Links to this post
![]()
![]()
As promised, here's my review of one of the new Speed Racer sets: 8158: Speed Racer and Snake Oiler.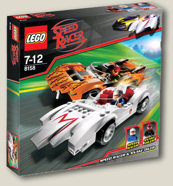
Labels: LEGO, Set Reviews, Speed Racer
posted by Christopher Doyle at
4/04/2008
14 Comments
Links to this post
![]()
![]()
Read the comic here.
posted by Christopher Doyle at
4/04/2008
18 Comments
Links to this post
![]()
![]()
Stopped at TRU on my way home - they had most (3) of the new Speed Racer sets. I wasn't willing to pay TRU prices on the big sets, but I had to take the basic Mach 5 set home with me.Labels: LEGO, Speed Racer, workbench
posted by Christopher Doyle at
4/03/2008
1 Comments
Links to this post
![]()
![]()
This is "Workbench" post - just thought I'd share the results of a couple of hours of tinkering last night.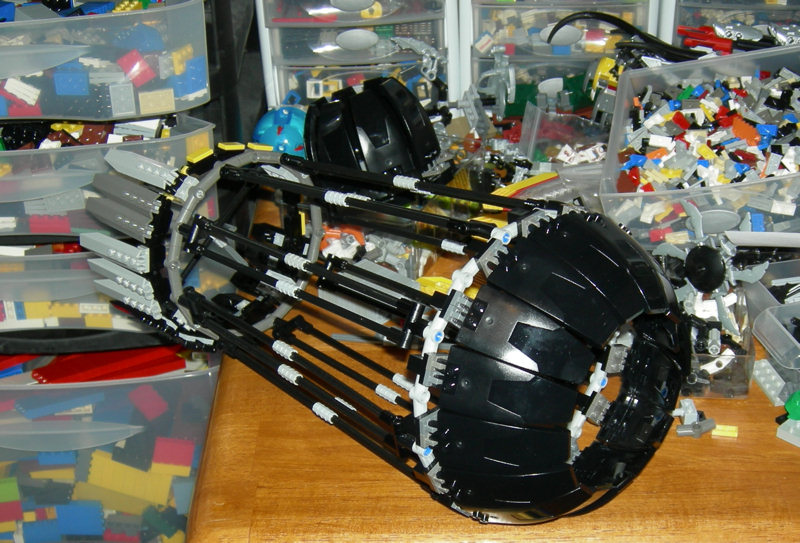
posted by Christopher Doyle at
4/03/2008
3 Comments
Links to this post
![]()
![]()
Read the comic here.
posted by Christopher Doyle at
4/03/2008
7 Comments
Links to this post
![]()
![]()


Labels: LEGO, Speed Racer
posted by Christopher Doyle at
4/02/2008
3 Comments
Links to this post
![]()
![]()
Read the comic here.
posted by Christopher Doyle at
4/02/2008
5 Comments
Links to this post
![]()
![]()
There's been a parts upgrade at the Buy-Me Mizer - in particular the Accessories section now features the awesome custom weapons of
Labels: Buy Me Mizer, Mizers
posted by Christopher Doyle at
4/01/2008
6 Comments
Links to this post
![]()
![]()
posted by Christopher Doyle at
4/01/2008
14 Comments
Links to this post
![]()
![]()

I'm the swanky host/author of ReasonablyClever.com. In the immortal words of Tom Servo: "No one gets me, baby. I'm the wind."

Subscribe to
Posts [Atom]